The XR Player Windows release supports rendering on an HMD by default if an OpenXR runtime is installed.
This tutorial covers usage of XR Player on Windows, rendering on a Meta Quest HMD using Meta Quest Link.
When no OpenXR runtime is detected, the player runs in a regular desktop window.
Requirements
- Windows 11
In order to support Meta Quest link:
- a Meta Quest headset ( 2, 3 and Pro are confirmed to work)
- a machine compatible with the Meta Quest link requirements
- the Oculus PC app for Meta Quest Link
Meta Quest Link support
- Follow the instructions on Meta’s support article. The step by step developer tutorial also provides some usefull screenshots if you aren’t familiar with the Meta Quest platform - note that beta features aren’t needed.
- Meta Quest Link supports a USB mode as well as a WiFi mode.
- Adjust graphics perfomance settings depending on your computer’s configuration.
Getting Started
1. Get the player
Download the latest release or build the XR player.
2. Get the test content
Download the latest test content from github’s rt-xr-content repository.
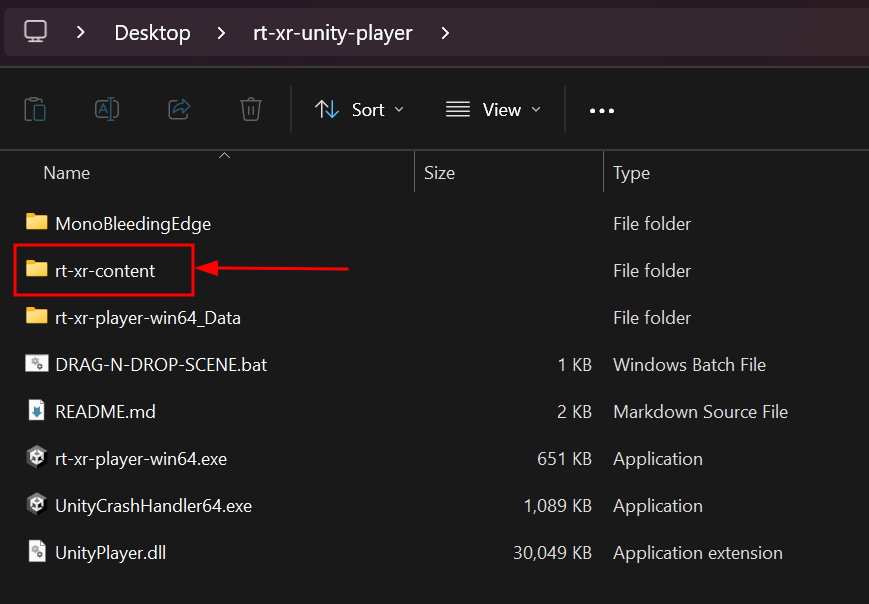
3. Locate the test content to the player directory
By default the player expects the rt-xr-content directory to be located next to the executable so that double clicking on rt-xr-player.exe launches without further configuration.
4. Start the Meta Quest Link Mode on the headset
5. Launch the rt-xr-player.exe application
Command line usage
Launching custom scenes is normaly achieved from the command line, typically PowerShell on windows. In that case the content can be located anywhere on the file system or downloaded over http:
Launch a scene available over http

Using a custom launcher shortcut
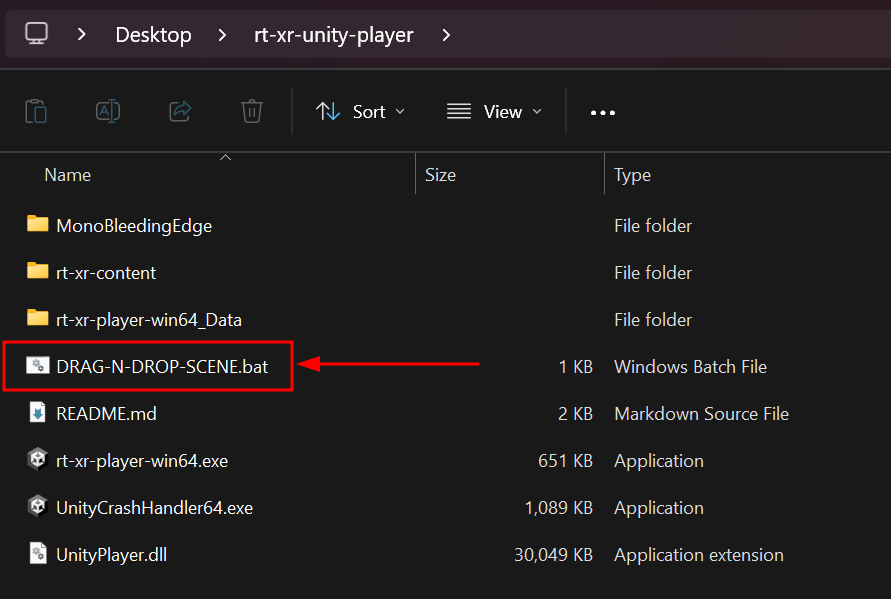
If you downloaded an XR Player release, a drag and drop launcher is provided.
Such a launcher is just create a file with a .bat extension and the following content:
%~dp0rt-xr-player.exe --gltf "%1"
pause
“%1” means the dropped argument, and could be replaced by an URI.